Dry Brushing with a Toothbrush
How to clean keyboard effectively? Dry brushing is an easy way to clean a keyboard. All you need is a toothbrush. Make sure the toothbrush is dry and has stiff bristles. Follow these simple steps:
- Turn off your computer to avoid damage and unintended inputs.
- Remove the keyboard cable or battery if it’s wireless.
- Hold the toothbrush at an angle to reach between keys effectively.
- Gently brush the dirt off, moving from one end to the other.
- Tap the keyboard gently to dislodge any loose debris.
- Use a paper towel to collect the dirt that comes out.
Repeat this process as needed. It won’t take long and can be quite effective. For crumbs and hair, this method works wonders. Remember not to press too hard to prevent damage to the keys. If some grime still remains, you might need to switch to a wet brushing technique, discussed in the next section of this guide.
Regular maintenance using the dry brushing method can prevent the buildup of dirt. This keeps your keyboard looking crisp and ensures a comfortable typing experience. Stick to this routine, and your keyboard will thank you. Remember to use a toothbrush dedicated for this purpose only. Don’t mix it with your dental hygiene tools!
In the end, dry brushing is a cheap, quick, and safe way to maintain keyboard cleanliness. Try it out and see the difference it makes for yourself.

Wet Brushing for Stubborn Grime
When dry brushing isn’t enough, wet brushing can help with the more stubborn dirt. It’s a bit riskier, due to the involvement of moisture, but can be effective when done carefully.
- Dampen the toothbrush slightly but ensure it’s not dripping wet to prevent liquid damage.
- Gently brush around and under keys to loosen and remove sticky debris.
- After scrubbing, tap the keyboard to remove dislodged dirt.
- Use a dry cloth or paper towel to wipe any moisture and residue away.
For best results, use distilled water or isopropyl alcohol diluted with water. Alcohol evaporates quickly and reduces the risk of liquid damage. Focus on areas that seem to have accumulated the most grime. Be patient; this method requires time to ensure that moisture does not seep into the keyboard. After wet brushing, let your keyboard dry completely before using it again.
To sum up, wet brushing can rescue a keyboard from persistent grime, but handle with care to keep your setup crisp and functioning well.
Key-by-Key Deep Cleaning Method
Sometimes, a keyboard needs more than just a light dusting; it requires a key-by-key deep cleaning approach. This method targets each key individually, ensuring that no grime is left behind. Let’s explore the steps:
- Gather your tools: You’ll need a key puller or a flat tool to safely remove the keys.
- Turn off and unplug your keyboard to prevent any electrical issues.
- Carefully remove each keycap with the tool, starting from one corner of the keyboard. Place the keycaps in a bowl.
- Clean key sockets with a cotton swab or a soft brush, being gentle to avoid damage.
- Soak keycaps in warm, soapy water for a while, then use a soft brush to scrub them clean.
- Dry keycaps thoroughly with a clean towel or let them air dry on a dry cloth.
- Reattach the keycaps to their respective places. Press firmly but gently.
This method is effective but requires more time and care. It’s great for when you need a thorough clean. Performing a deep cleaning periodically can enhance your keyboard’s lifespan and functionality. Plus, it gives you a fresh, responsive experience every time you type.
Key-by-Key deep cleaning is the go-to for keyboards exposed to frequent use and those in dirty environments. Just remember to handle your keys with care while cleaning and reassembling to ensure a crisp, clean finish.

Q-Tip for Spot Cleaning
Sometimes, quick spot cleans are necessary to maintain a keyboard’s appearance and functionality. The humble Q-Tip, commonly found in most households, can be your ally in this minimal but crucial task.
To start spot cleaning with a Q-Tip:
- Dip a Q-Tip into isopropyl alcohol; it’s effective against most sticky substances.
- Squeeze out excess alcohol to avoid dripping.
- Gently swab around the keys, targeting visible spots and edges.
- Dry the area with the other end of the Q-Tip or a dry cloth.
Regularly using a Q-Tip can prevent the accumulation of dust and debris. It is especially good for cleaning those hard-to-reach areas between keys. By incorporating this method into your cleaning routine, you can extend the time needed between more intensive cleaning sessions. Spot cleaning takes only a few minutes but can have a significant impact on your keyboard’s cleanliness and overall user experience.
It’s also advisable to keep a small box of Q-Tips nearby your computer setup for convenience. Having them on hand encourages regular cleaning, thus maintaining a more hygienic and crisp-looking keyboard.
In essence, never underestimate the power of a Q-Tip for quick, effective keyboard spot cleaning. It’s simple, readily available, and particularly useful for keeping your setup in top condition.
Organizing Your Cleaning Session
To keep your keyboard in top shape, plan your cleaning sessions well. Here’s how to organize a cleaning session for efficiency and effectiveness.
- Set aside time: Choose a time when you won’t be rushed. This ensures you clean thoroughly.
- Gather equipment: Have your toothbrush, Q-Tips, key puller, and other tools ready.
- Clear the area: Remove any clutter from around your keyboard for easy access to all sides.
- Start with dry brushing: Quickly remove loose debris with a toothbrush.
- Proceed with wet brushing: Tackle stubborn grime with a slightly dampened toothbrush.
- Do spot cleaning: Use a Q-Tip to clean around the keys with precision. This can be done rapidly and regularly.
- Deep clean if necessary: If the keyboard is very dirty, use the key-by-key method for a comprehensive clean.
- Dry and reassemble: Ensure all parts are dry before putting everything back together.
Plan your session to move smoothly from one step to the next. Remember to handle your keyboard gently during all steps. Organizing your session reduces the time needed for your keyboard’s upkeep and makes it manageable to maintain a crisp, clean setup.

Preventive Measures for Keyboard Maintenance
Proper keyboard maintenance can reduce the need for frequent deep cleaning. Follow these steps:
- Avoid eating over your keyboard to prevent crumbs and spills.
- Wash your hands before using the keyboard to limit grease and dirt transfer.
- Cover your keyboard when not in use to keep dust and debris at bay.
- Use a keyboard protector, such as a silicone cover, to guard against dust.
- Regularly turn the keyboard upside down and gently tap out loose debris.
- Schedule regular cleaning sessions, such as dry brushing, to stay ahead of dirt accumulation.
By incorporating these practices, you keep your keyboard clean for longer periods. These preventive measures save you time and extend your keyboard’s life. Stick to these habits and enjoy a consistently crisp keyboard experience.
Alternative Tools for Keyboard Cleaning
When the standard toothbrush and Q-Tip aren’t enough, other tools can step in for keyboard cleaning. Here are some alternative tools:
- Soft-bristled paintbrushes can reach tight spaces between keys.
- Microfiber cloths attract dust and can be used for wiping down surfaces.
- Compressed air can blow out debris from under the keys.
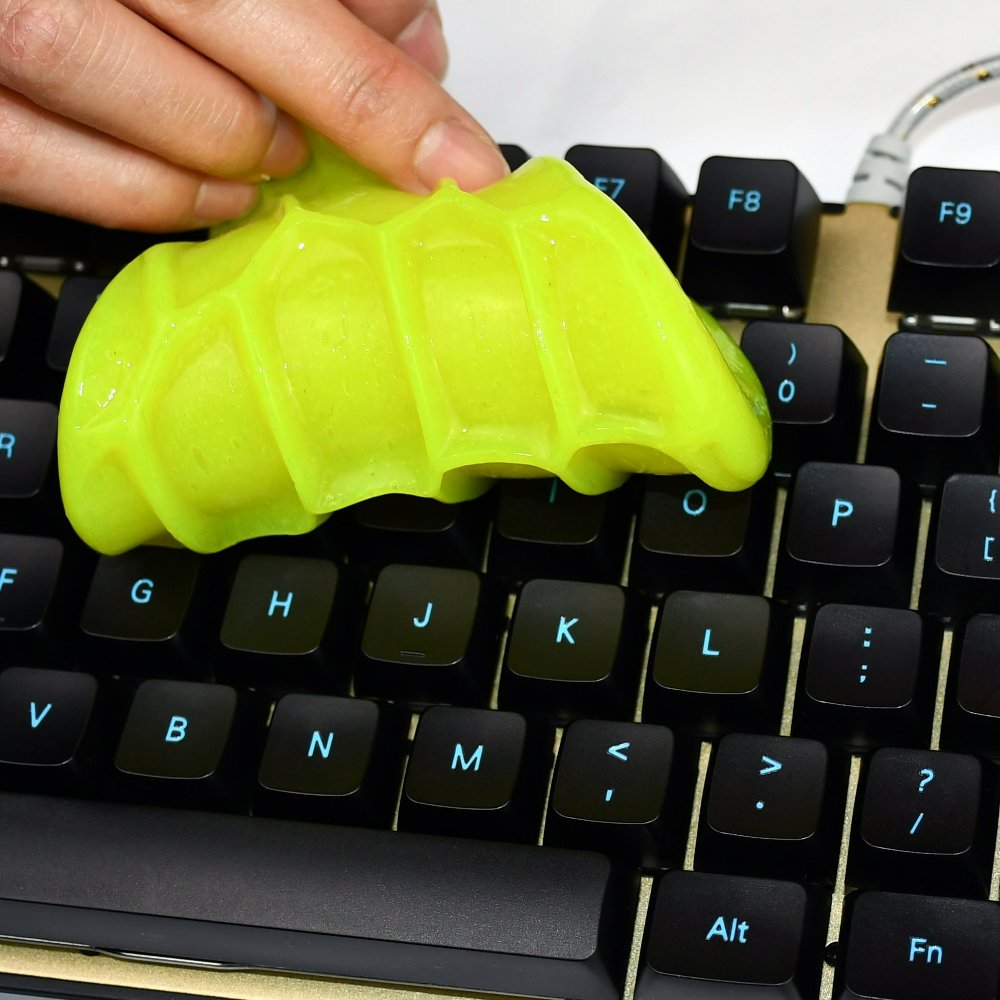
- Cyber Clean putty picks up dirt and kills germs on contact.
- Foam swabs are useful for precision cleaning around keycaps.
- Melamine foam sponges, cut into small pieces, can erase scuffs and marks.
Each tool has its place in a comprehensive keyboard cleaning arsenal. Choose the right tool based on the type of dirt you’re dealing with and your keyboard’s specific needs.
Final Review: Checking for Missed Spots
After your detailed cleaning session, it’s essential to do a final review. This ensures that you haven’t missed any spots and that your keyboard is as clean as possible. Here’s a simple checklist:
- Check under the lighting: If your keyboard has backlighting, turn it on. Look for any crumbs or dust that might hide when the lights are off.
- Inspect between keys: Use your light source to examine the gaps between keys. Make sure no debris is stuck in the crevices.
- Feel for stickiness: Gently press each key. Any stickiness indicates that there may still be some grime left.
- Look at the surface: Make sure the surface of each keycap is clean and has no finger marks or smudges.
- Tap and listen: Give the keyboard a gentle flip and tap. Listen for the sound of any loose particles that might still be inside.
If you notice any dirt after these steps, repeat the appropriate cleaning method. Use a soft brush for loose particles, a dampened Q-Tip for sticky spots, or remove and clean individual keys if necessary. Maintaining a clean keyboard involves both thorough cleaning and spot checks, leading to a better typing experience and prolonged device life.
Keep your cleaning tools handy for touch-ups. Frequent, light cleaning prevents the need for heavy sessions later. By staying on top of your keyboard’s cleanliness, you’ll ensure it remains hygienic and functional. Remember, a clean keyboard can make your entire workspace feel more organized and pleasant to use.