Pre-Cleaning Preparation
Before you begin the process of how to clean a laptop keyboard, proper preparation is crucial. This ensures a safe and efficient cleaning experience.
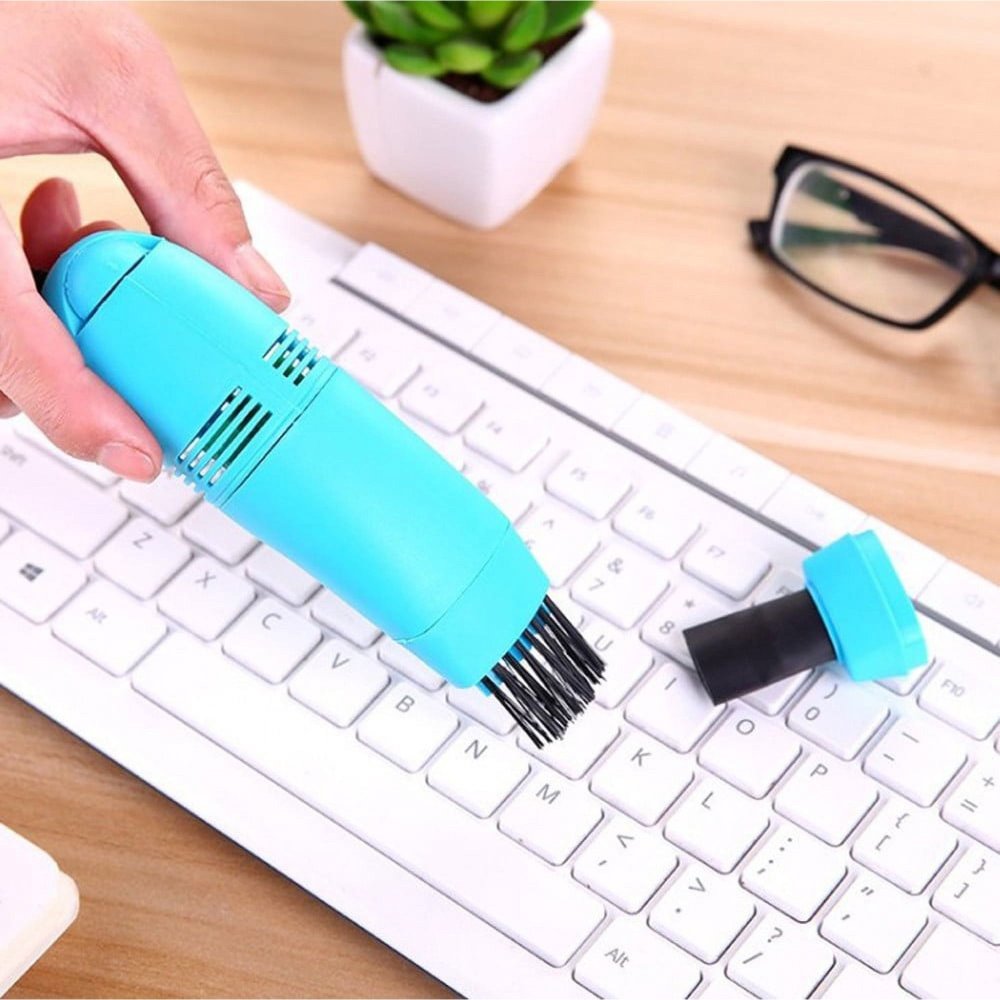
Gathering Essential Cleaning Supplies
To start, gather all the necessary items for cleaning. You’ll need compressed air, a soft-bristle brush, microfiber cloths, and isopropyl alcohol. Ensuring you have the right tools will make the cleaning process smoother.
Remember to choose supplies that won’t damage your laptop. For example, use a can of compressed air with a narrow nozzle. This helps target debris without too much pressure. A gentle brush will loosen dirt without scratching the keys.
Turning Off and Unplugging Your Laptop
Always turn off your laptop and unplug it before cleaning. This prevents accidental key presses. It also reduces the risk of electrical damage. Wait until the laptop cools down if it was in use.
By following these pre-cleaning steps, you set yourself up for a successful cleaning session. This makes the actual cleaning process safer for both you and your laptop.
Dry Cleaning Techniques
Before applying any liquids to your laptop keyboard, starting with dry cleaning methods is best. These techniques can remove most of the loose dirt and debris without the risk of liquid damage.
Using Compressed Air
To start, grab the can of compressed air that you gathered earlier. While keeping the can upright, use short bursts of air to blow away crumbs and dust from between the keys. Angle the nozzle to reach all areas. Move across the keyboard in a zig-zag pattern. Hold the can a few inches away from the surface to avoid damage.
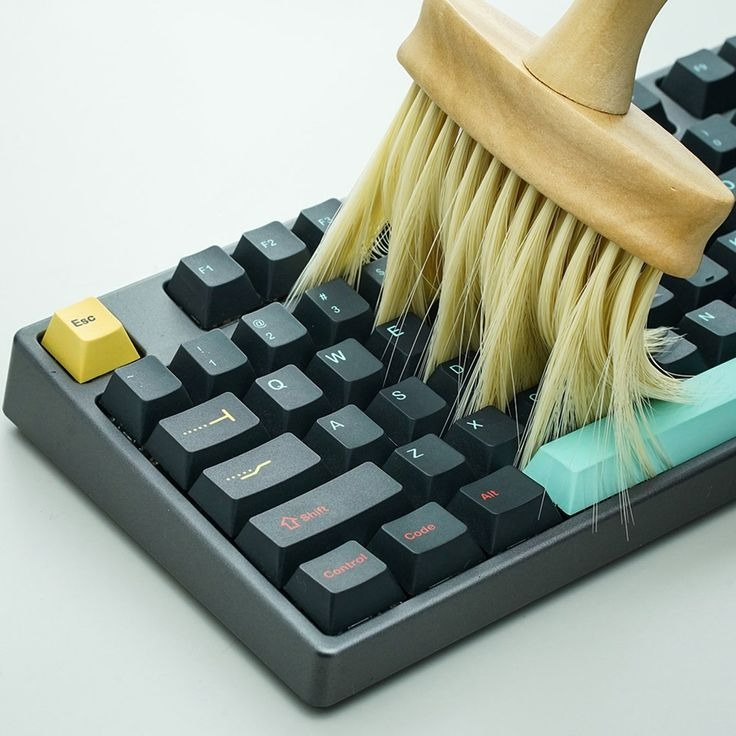
Gentle Brushing with a Soft-Bristle Brush
After using compressed air, take the soft-bristle brush. Gently sweep over the keyboard to loosen any remaining dirt. Brush in one direction to gather particles effectively. A toothbrush can work if you don’t have a dedicated brush. Make sure it’s clean and dry. Pay attention to crevices where dust accumulates. These dry cleaning steps will prepare your keyboard for any wet cleaning methods if necessary, ensuring how to clean a laptop keyboard is both safe and effective.
Wet Cleaning Methods
After you complete dry cleaning, you may need wet cleaning methods for stubborn dirt.
Applying Cleaning Solutions
When using liquids, pick the right solution to avoid damage. Isopropyl alcohol is a good choice. It evaporates quickly and doesn’t leave moisture behind. Dilute with water for a gentle clean. Apply a small amount on a cloth, not directly onto the keyboard.
The Correct Way to Dampen a Microfiber Cloth
To dampen your microfiber cloth properly, follow these steps. First, dip a corner of the cloth into the diluted alcohol. Then, wring it out well until it’s damp, not wet. Gently wipe each key top and in between. Never allow liquid to drip into the keyboard. This technique helps prevent moisture from damaging the laptop internals.
Keycap Removal for a Deep Clean
Sometimes, dry and wet cleaning methods aren’t enough for a thorough clean. In these cases, consider removing the keycaps for a deeper cleanse of your laptop keyboard. This method can help you get rid of grime that’s lodged beneath the keys.
Tools and Techniques for Removing Keycaps
To remove the keycaps safely, you will need the right tools. A keycap puller is a handy device designed for this purpose. It hooks beneath the key and allows you to gently lift it away from the keyboard. If you don’t have a puller, a flat-head screwdriver can work, but use it with caution to avoid damage.
Follow these steps to remove keycaps:
- Insert the keycap puller under the corners of the key.
- Gently lift up until the keycap pops off.
- Keep the keycaps in order, so you know where to replace them.
Always be gentle to prevent breaking the keycaps or the delicate scissor-switch mechanisms underneath them.
Cleaning Underneath the Keys
Once you’ve removed the keycaps, use the following steps to clean under the keys:
- Use compressed air to blow out any loose debris.
- Dip a cotton swab in isopropyl alcohol and clean the key sockets.
- Wipe down the exposed areas with a damp microfiber cloth.
- Allow the area to dry completely before replacing the keycaps.
Reattach the keycaps by aligning them correctly and pressing down until they click into place. This deep clean method, combined with how to clean a laptop keyboard using dry and wet techniques, will help maintain your laptop’s functionality and extend its lifespan.
Dealing with Spills and Sticky Residues
When it comes to laptop keyboard care, dealing with spills and sticky residues demands prompt attention. Taking the right action quickly can save your keyboard from permanent damage.
Immediate Actions to Mitigate Damage
If you spill liquid on your keyboard, act fast. First, turn off the laptop and unplug it. Then, turn the laptop upside down to drain the liquid. Gently blot the affected area with a microfiber cloth. Avoid rubbing, as this could spread the liquid. Remove any accessible wet keycaps using the proper tools. Let them dry separately. Allow your laptop to air dry completely before turning it back on.
Cleaning Methods for Tackling Spill Aftermath
Once your laptop is dry, assess for sticky residues. Dampen a microfiber cloth with a mix of water and isopropyl alcohol. Wipe the sticky areas gently. Use cotton swabs to reach between keys. Deal with tougher residues using a flathead screwdriver or toothpick, but carefully to avoid scratches. Allow the keyboard to dry fully after cleaning. After these steps, you’ll know how to clean a laptop keyboard after spills effectively, maintaining its condition and usability.
Preventative Practices for Keyboard Maintenance
Keeping your laptop keyboard clean isn’t just about reacting to dirt and spills. It’s also about prevention. Regular maintenance can stop problems before they start. Implement these simple, proactive strategies to keep your laptop keyboard in top condition.
Routine Cleaning Schedule
Set up a regular cleaning routine for your laptop keyboard. Aim to dry clean with compressed air and a soft-bristle brush once a week. Do a deeper clean with a microfiber cloth and isopropyl alcohol once a month. Mark these tasks on your calendar to stay consistent. Keeping to a schedule helps prevent buildup of dirt and grime.
Best Practices to Avoid Keyboard Contaminants
Your keyboard’s cleanliness also depends on your daily habits. Here are quick tips to limit dirt and spills:
- Keep food and drinks away from your laptop to avoid crumbs and spills.
- Wash your hands before using your laptop to reduce oil and dirt transfer.
- Cover the keyboard when not in use to block dust.
- Avoid using your laptop in dusty or outdoor environments when possible.
- Never spray cleaning solutions directly onto the keyboard.
By following these practices, combined with the steps outlined in ‘how to clean laptop keyboard’, you help ensure its longevity. Protect your laptop from common hazards and enjoy a cleaner, more reliable keyboard.
Troubleshooting Common Keyboard Cleaning Issues
Even with meticulous cleaning, sometimes you might encounter issues. Here, we tackle common problems arising after cleaning a laptop keyboard.
Addressing Non-responsive Keys After Cleaning
If keys don’t respond following a clean, don’t worry. First, check to see if they are dry. Moisture can cause temporary faults. Use a can of compressed air to dry out any dampness. Next, ensure keycaps are properly attached. Misaligned or loose keycaps prevent correct key function. Try reseating them by gently pressing down until they click.
If issues persist, debris may be underneath the keys. Remove keycaps carefully, clean the area below, and replace the caps. Remember, always be patient and gentle to avoid further damage.
Ensuring Electronics Are Damage-Free
During keyboard cleaning, keeping electronics safe is crucial. Always use a damp, not wet, cloth to clean your keyboard. This prevents liquid from seeping into the electronics. After cleaning, give your keyboard ample time to dry before using it again. If you suspect liquid has gotten inside, turn off the laptop immediately. Consult a professional to avoid damaging delicate circuitry.
By following these troubleshooting tips, you can address common issues and ensure damage-free keyboard care. Remember, staying on top of routine maintenance reduces these risks.