Introduction to Keyboard Cleaning
Keeping your keyboard clean is crucial for both hygiene and functionality. Over time, keyboards can collect dust, food particles, and other debris. This not only affects the keyboard’s performance but can also harbor bacteria and germs. Regular cleaning can address these issues, ensuring a comfortable and sanitary typing experience.
Cleaning your keyboard is not a complex task. With the right tools and approach, it can be done quickly and effectively. It’s important to know the different types of keyboard cleaners and tools available, as they each serve specific purposes. From compressed air dusters to soft-bristled brushes, choosing the proper cleaning tools is the first step in maintaining your keyboard.
To start cleaning, you’ll want to gently remove any loose debris. Turning the keyboard upside down and giving it a gentle shake can help dislodge crumbs and dust. However, for a deeper clean, you will need to follow a more thorough process. This guide will walk you through different techniques and products – from DIY cleaning solutions to commercial cleaners – that will keep your keyboard in top shape.
Remember, incorporating keyboard cleaning into your routine maintenance tasks can extend the life of your keyboard and improve your overall typing experience. By following the simple steps outlined in this guide, you can keep your keyboard clean and functional.
In the upcoming sections, we’ll delve into various cleaning tools, methods, and the importance of regular upkeep. We’ll also provide tips and highlight common mistakes to avoid. Let’s ensure your keyboard remains a reliable tool to support your daily computing needs.

Types of Keyboard Cleaners and Tools
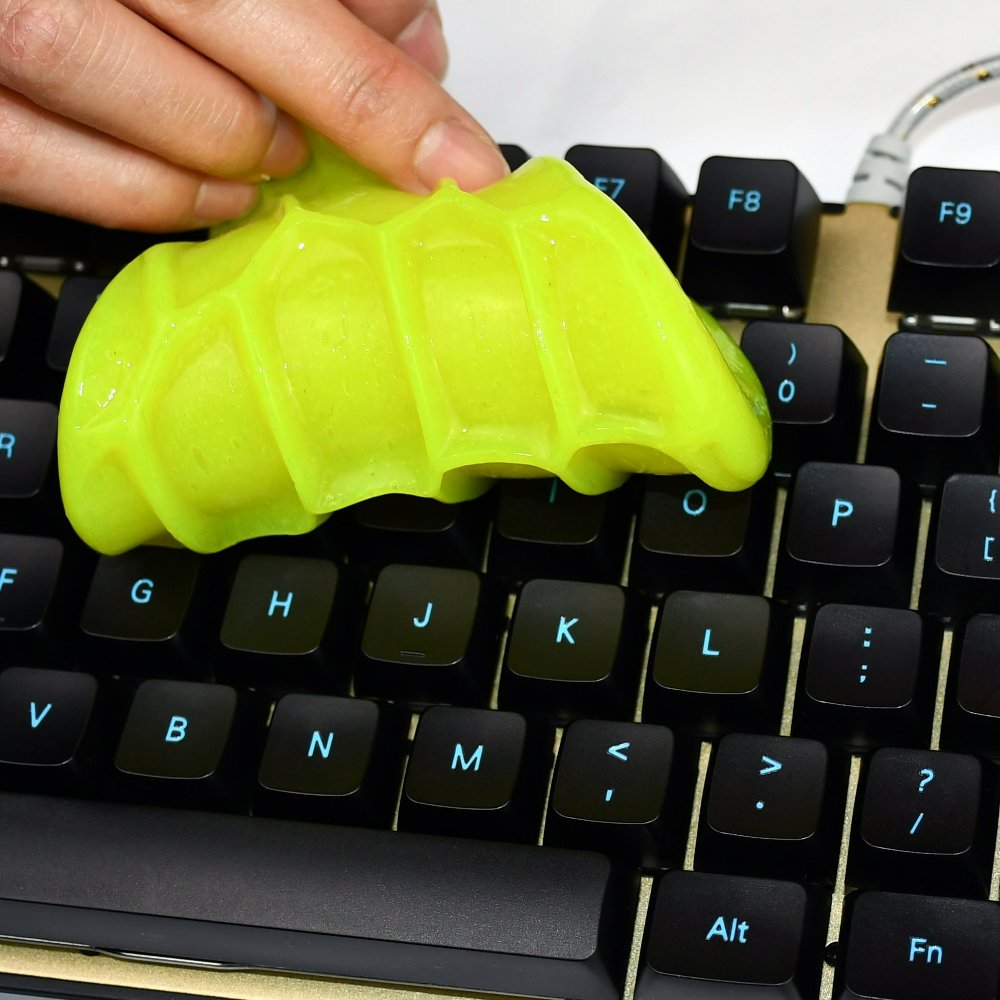
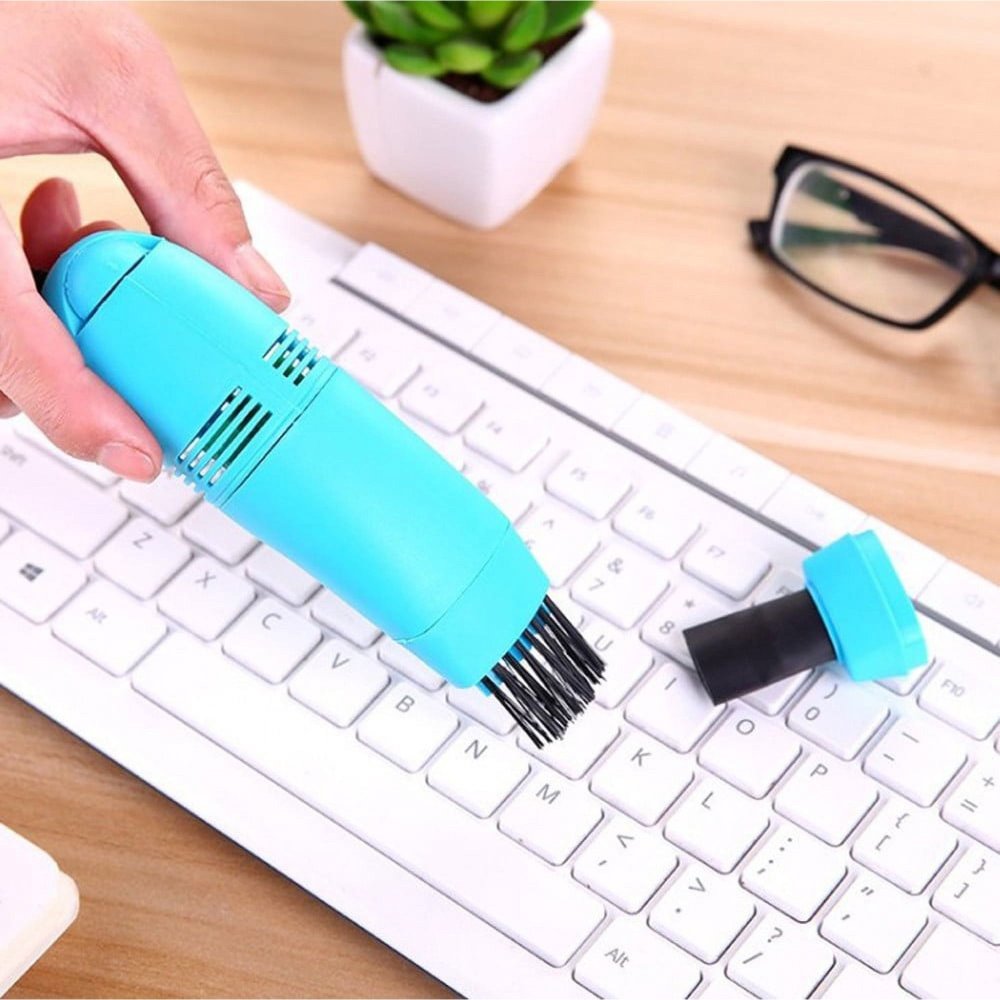
To ensure a thorough keyboard cleaning, it’s vital to pick the right tools. Each tool has a different function that helps in the overall cleaning process. Here’s a breakdown of various keyboard cleaner tools and their purposes:
- Compressed Air Dusters: They are ideal for blowing away loose dust and debris from your keyboard. Hold the can upright and spray between the keys.
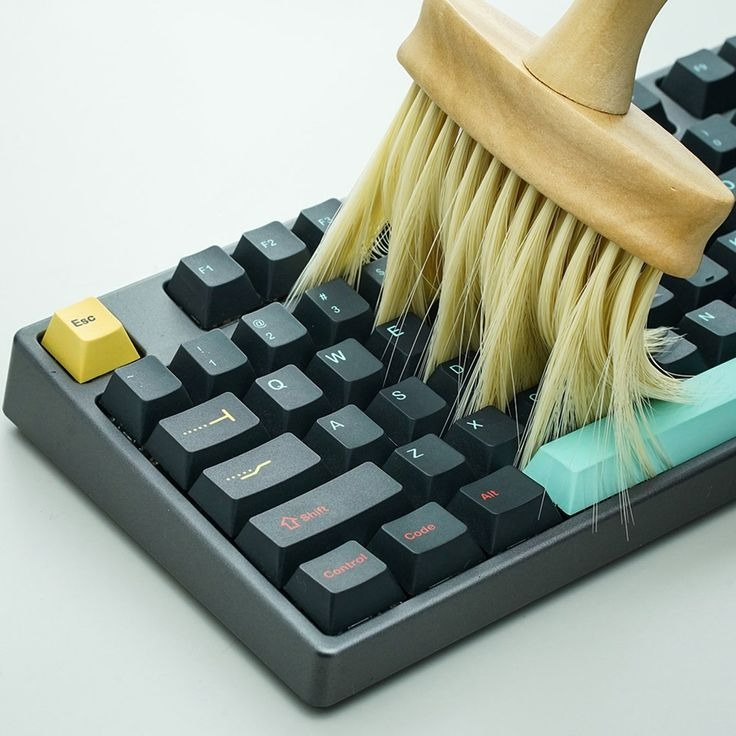
- Soft-Bristled Brushes: Soft brushes remove dust without damaging the keys. Gently sweep the brush over the keyboard to collect dust.
- Keycap Pullers: For a deep clean, use a keycap puller to remove the keys. This allows you to clean the base and individually wash the keycaps.
- Cotton Swabs: Dipped in alcohol or cleaning solution, cotton swabs can clean the areas around the key bases.
- Microfiber Cloths: These cloths are effective for wiping down the keys and board. They don’t leave lint or scratches.
- Disinfectant Wipes: To eliminate germs, use disinfectant wipes to sanitize the key surfaces after dusting.
- Isopropyl Alcohol: This cleaning agent is used with a cloth or swab to sanitize and remove oily residue.
Choose these tools based on the condition of your keyboard and the type of cleaning required. For light cleaning, a brush and microfiber cloth might suffice. However, for a full cleanup, you might need to use all the tools mentioned. Regular use of these keyboard cleaners will help maintain your keyboard’s functionality and hygiene.
In the next section, we will discuss how routine cleaning can prevent damage and prolong the lifespan of your keyboard.
The Importance of Regular Keyboard Cleaning
Regular keyboard cleaning is vital for several reasons. First, it prevents the build-up of dust and debris, which can interfere with the keys’ functioning. Over time, accumulated dust can cause keys to stick or become unresponsive. Regularly blowing out dirt with a compressed air duster or brushing it off can help maintain consistent key performance.
Secondly, a clean keyboard is essential for good hygiene. Keyboards can become a breeding ground for germs, with studies showing that they can harbor more bacteria than a toilet seat. Using disinfectant wipes and isopropyl alcohol to sanitize your keyboard can reduce the risk of spreading illness.
Furthermore, consistent cleaning can extend the life of your keyboard. Debris and oily residues can degrade the materials of your keyboard over time. By keeping it clean, you avoid premature wear and protect your investment.
Lastly, a clean keyboard contributes to a more pleasant work environment. A clean and organized workspace can improve focus and productivity, and that includes having a neat keyboard. It reflects well on personal and professional hygiene standards.
Incorporating routine cleaning into your schedule is a simple yet effective way to care for and get the best performance out of your keyboard cleaner tools. By recognizing the importance of this practice, you can enjoy a reliable and sanitary typing experience for years to come.

Step-by-Step Guide to Cleaning Your Keyboard
Cleaning your keyboard should not be a daunting task. We’ll guide you through a straightforward process. This will ensure that your keyboard is clean and functions well. Let’s dive into a step-by-step cleaning routine tailored for your keyboard.
- Turn off your computer or disconnect the keyboard. Safety first. Ensure that your device is powered down before starting.
- Gently shake the keyboard. Flip it upside down. This removes loose debris between the keys.
- Use compressed air. Blast away dust from hard-to-reach places. Keep the can upright as you spray.
- Swipe with a soft brush. This gathers dust off the surface. A soft-bristled brush is perfect for this step.
- Apply a keycap puller. If you’re doing a deep clean, carefully remove the keys. Follow your keyboard’s manual to avoid damage.
- Clean with cotton swabs. Dipped in isopropyl alcohol, swab the areas around the key bases. This cleans grime and kills germs.
- Wipe with microfiber cloths. A dry microfiber cloth works best. It polishes the keys and removes fingerprints.
- Sanitize with disinfectant wipes. Wipe each key top and sides. Be sure to not let any liquid seep between the keys.
- Dry the keyboard completely. Ensure no moisture is left. This can otherwise damage the electronic components.
- Reassemble your keyboard. If you removed the keys, put them back carefully. Make sure they are all in the right place.
By faithfully following these steps, your keyboard will not only look clean but also perform better. Regular cleaning, as previously mentioned, is key to longevity and optimal functionality. Remember to adjust frequency based on your keyboard usage and environment. Clean more often if you are in a dusty area or eat at your desk. Take pride in a clean keyboard; your tech hygiene will thank you for it.
DIY Cleaning Solutions Vs. Commercial Cleaners
When it comes to cleaning your keyboard, you have two main options: DIY cleaning solutions or commercial cleaners.
DIY Cleaning Solutions are cost-effective and can be made with household items. An example is a mix of water and vinegar. Use a 50/50 solution to gently cleanse the keys. Another solution involves rubbing alcohol. It kills germs and removes oily residues.
For those who prefer natural options, lemon juice mixed with water is a good choice. Lemon acts as a disinfectant and gives a fresh scent. Always use a soft cloth or microfiber to apply these solutions.
Commercial Cleaners are specifically designed for electronics. They often come in spray or wipe form. These cleaners are convenient and quick to use. They also reduce the risk of damage as they are made for delicate devices.
Keyboard cleaner sprays are popular. They evaporate quickly and don’t leave residue. Disinfecting wipes are pre-moistened and remove most germs.
When choosing between the two, consider your keyboard’s needs. For heavy grime, commercial products may work better. But for regular upkeep, DIY methods are sufficient and budget-friendly.
Remember to use the right amount of solution. Too much liquid can seep into the keyboard and cause harm.
In the end, whether you choose DIY or commercial, consistent cleaning is key. Each type has its benefits, so choose what works best for you and stick to a regular routine.

Tips for Maintaining a Clean Keyboard
Proper keyboard upkeep ensures a longer life for your device. Here are some practical tips to help you keep your keyboard cleaner for longer:
- Deal with Spills Immediately: If any liquid spills on your keyboard, act fast. Turn it off and disconnect it. Gently dab the liquid with a dry cloth. Avoid wiping, as this can spread the moisture more broadly.
- Avoid Eating Over Your Keyboard: Crumbs can attract pests and lead to key damage. Try to eat away from your workstation.
- Wash Your Hands Often: Clean hands mean fewer oils and residues transferred to your keyboard, thus reducing the need for cleaning.
- Keep Cleaning Tools Handy: Have your compressed air duster, microfiber cloths, and other tools nearby. This makes regular cleaning easier.
- Protect Your Keyboard When Not in Use: Use a keyboard cover or simply place a cloth over it. This prevents dust accumulation when you’re not typing.
- Schedule Regular Cleanings: Set reminders for deep cleaning sessions. This keeps you on track with your cleaning routine.
- Gently Remove and Clean Keycaps: If your keyboard design allows, clean under the keycaps using keycap pullers. Handle them with care to prevent damage.
By following these tips, you’re less likely to face major buildups or damage, keeping your keyboard cleaner and ready for use.
Common Mistakes to Avoid While Cleaning Keyboards
While maintaining keyboard hygiene is crucial, there are common pitfalls that you should avoid to prevent damage. Here are several mistakes to be mindful of when cleaning your keyboard:
- Ignoring Manufacturer’s Instructions: Always read the manual. Different keyboards may have specific care instructions.
- Using Too Much Liquid: Liquids can seep into the electronic parts. Use damp cloths, not wet ones.
- Eating Over the Keyboard: Food particles easily get lodged between keys. Eat away from your desk.
- Rough Handling of Keycaps: When removing keycaps, use a keycap puller. Don’t force them off.
- Skipping Regular Cleaning: Don’t wait for the keyboard to look dirty. Clean regularly to avoid major buildups.
- Forgetting to Dry: Moisture is the enemy of electronics. Always dry your keyboard thoroughly after cleaning.
- Ignoring Noisy Keys: If a key is sticky or noisy, address it. Don’t ignore small issues. They can indicate deeper problems.
By being attentive to these common keyboard cleaner mistakes, you protect your keyboard from potential harm and ensure it remains in top condition for longer.
Conclusion: Keyboard Hygiene for Better Performance
Maintaining a clean keyboard is essential for peak performance and longevity. Throughout this guide, we’ve explored why routine cleaning is necessary for both functionality and hygiene. We’ve covered the different types of keyboard cleaner tools, like compressed air dusters and microfiber cloths. We’ve also walked through a step-by-step cleaning process that can help you keep your keyboard in top shape.
From DIY cleaning solutions to commercial cleaners, the options are varied. The choice depends on your preferences and the specific needs of your keyboard. Remember that consistent cleaning, using the right products and methods, is the key to a longer-lasting keyboard.
In addition, we’ve provided practical tips to help avoid common cleaning mistakes. By taking immediate action on spills, not eating over your keyboard, and cleaning your hands frequently, you can reduce the accumulation of dirt and germs. Scheduling regular cleanings will also help maintain your device over time.
Don’t overlook the importance of keyboard hygiene. It not only impacts the cleanliness of your workspace but also reflects on your personal hygiene standards. By integrating keyboard cleaning into your regular maintenance routine, you not only preserve your keyboard’s life but also ensure a more enjoyable typing experience. Keep your tools ready, follow the guidelines, and make the cleanliness of your keyboard a priority for better performance in all your computing tasks.