Types of Keyboards and Their Cleaning Needs
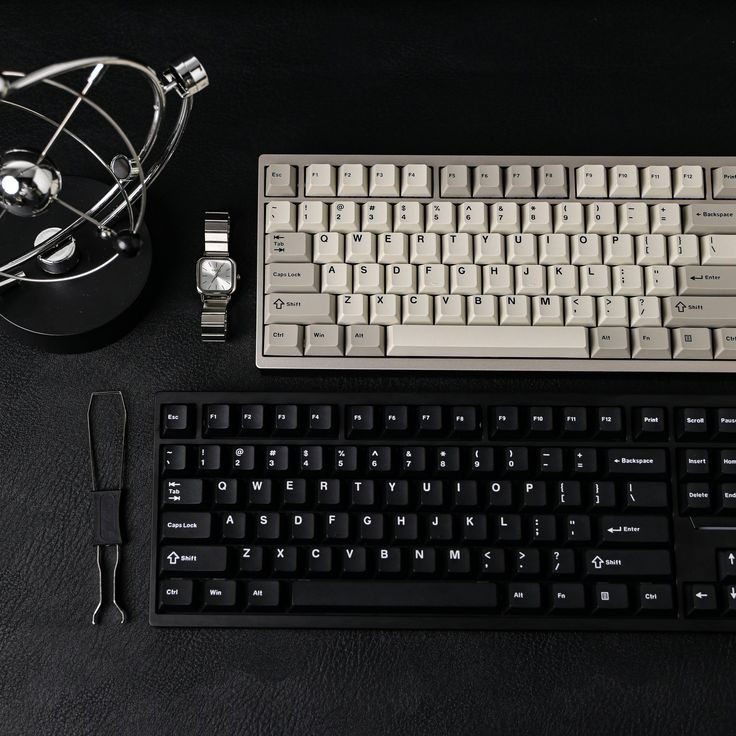
When planning how to clean a keyboard, it’s vital to recognize the different types. Each type has unique cleaning needs. There are mainly two types: mechanical keyboards and membrane keyboards. Mechanical keyboards have individual switches under each keycap. These often collect more debris. They require detailed cleaning. Membrane keyboards have a softer feel. They have a single rubber-like layer beneath the keycaps. This layer can trap dirt and liquids. Membrane keyboards need gentle, less invasive cleaning methods.
Cleaning needs also change based on keyboard usage. Gaming keyboards might need more frequent cleaning due to longer usage times. Office keyboards might have more dust from less regular cleaning schedules.
Aside from type and usage, consider your environment. Keyboards in dusty or open spaces will collect more particles. Those used by multiple people might need disinfecting to prevent germ spread.
In this guide, we’ll focus on how to clean a keyboard while bearing in mind these differences. We’ll offer tailored steps for both mechanical and membrane keyboards to ensure a safe and effective cleaning process. Keep in mind that routine care can extend the life of your keyboard, no matter the type.
Preparing to Clean Your Keyboard
Before diving into cleaning your keyboard, preparation is critical. Proper prep can prevent damage to your keyboard and ensure a thorough clean. Here are some initial steps to take:
- Power Down: Turn off your computer or disconnect the keyboard. This ensures safety and prevents electrical damage.
- Gather Supplies: You’ll need isopropyl alcohol, cotton swabs, a microfiber cloth, canned air, and a keycap puller for mechanical keyboards. Make sure everything is on hand before you start.
- Lay Out a Work Area: Choose a clean, well-lit surface. Spread out a cloth or towel to collect dirt and protect your workspace.
- Take a Before Photo: Snap a picture of your keyboard. It will help you remember key placements when reassembling.
- Review Manufacturer’s Instructions: Check for any specific cleaning guidelines provided by the keyboard manufacturer.
By following these steps on how to clean a keyboard, you’re setting the stage for a successful cleaning session. Remember to have patience and be gentle to avoid damaging any components.
Step-by-Step Guide to Cleaning a Mechanical Keyboard
Cleaning a mechanical keyboard requires careful attention to its unique components. Follow this step-by-step guide to ensure your mechanical keyboard is clean and functioning well.
- Remove Keycaps: Gently use a keycap puller to take off each keycap. This exposes the switches underneath.
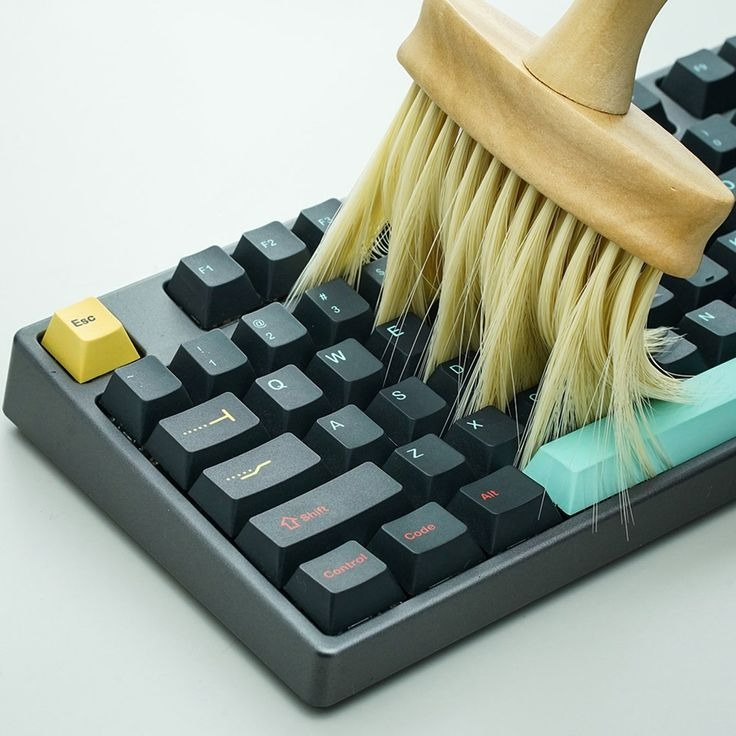
- Clean Switches: With a can of compressed air, blow out debris from between the switches. Keep the can upright to avoid moisture.
- Wipe Down: Dip a cotton swab in isopropyl alcohol. Clean around the switches. Be sure not to drip liquid into the keyboard.
- Wash Keycaps: In mild soapy water, soak the keycaps. Use a soft brush to scrub off grime. Rinse and dry them thoroughly before reattaching.
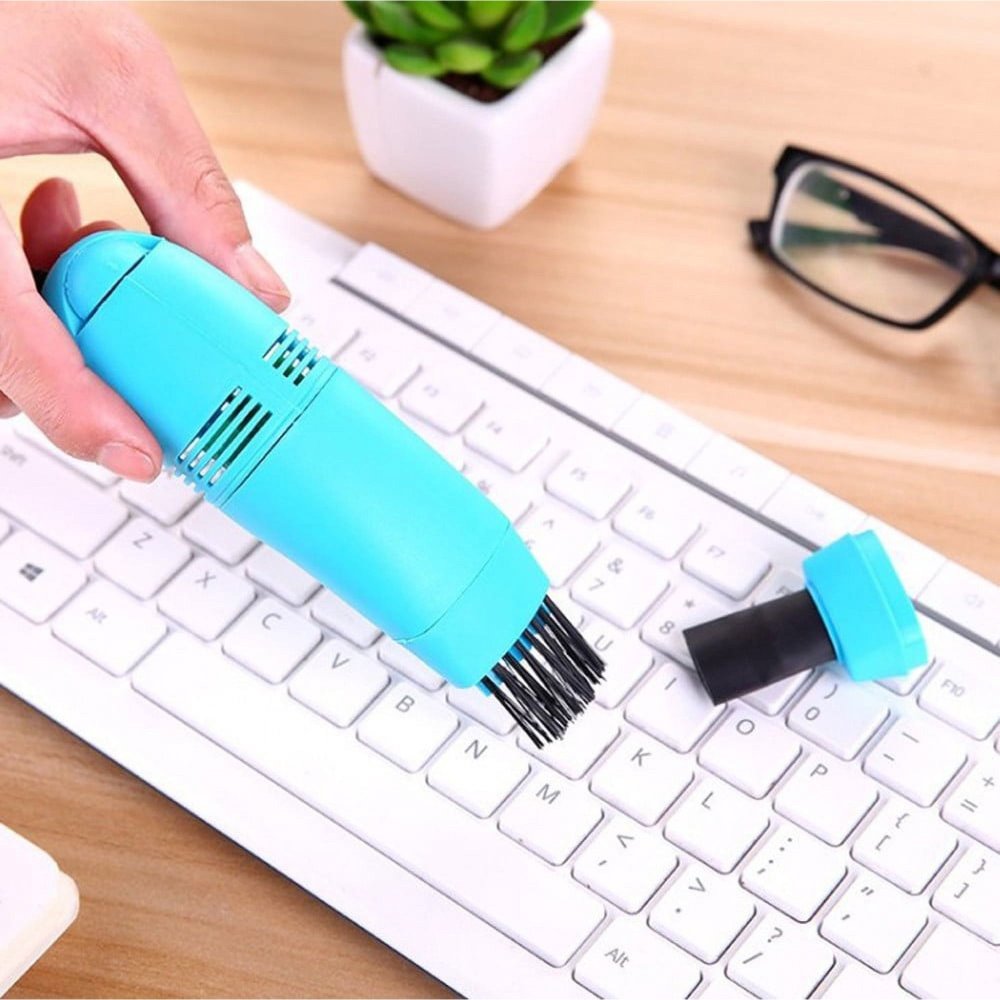
- Vacuum: If available, use a handheld vacuum to suction out any remaining dirt from the keyboard base.
- Reassemble: Once all parts are dry, reattach each keycap. Refer to your before photo to ensure correct placement.
- Final Wipe: Gently run a microfiber cloth over the entire keyboard. This removes any remaining dust or fingerprints.
Remember to carry out these steps on how to clean a keyboard regularly. This keeps your mechanical keyboard in top condition and improves its lifespan.
Step-by-Step Guide to Cleaning a Membrane Keyboard
Membrane keyboards require gentle care during cleaning. Here is how to clean a keyboard of this type efficiently:
- Turn Off and Disconnect: Ensure the keyboard is off and unplugged before starting. Safety comes first.
- Remove Surface Dust: Use compressed air to blow away loose dust on and between the keys.
- Prepare Cleaning Solution: Mix water with a drop of dish soap to create a mild solution.
- Wipe the Keys: Dip a microfiber cloth into the solution. Wring it out well. Gently wipe each key.
- Clean Tight Spaces: Use cotton swabs dampened with isopropyl alcohol for hard-to-reach areas. Don’t wet the keyboard.
- Dry Thoroughly: Use a dry cloth or let the keyboard sit to air dry. Ensure it’s completely dry.
- Test the Keyboard: Once dry, reconnect to the computer. Test each key to confirm functionality.
Follow these steps on how to clean a keyboard with a membrane design to keep it functioning smoothly.
Cleaning Keyboard Accessories
Once you know how to clean a keyboard, don’t forget the accessories. Like keyboards, these also gather dust and germs. They need regular cleaning to function well. Here are the steps to clean common keyboard accessories:
- Mouse: Turn off your mouse. Wipe it down with a microfiber cloth slightly dampened with isopropyl alcohol. Dry it well.
- Wrist Rests: Remove from your workspace. Wash with soapy water if it’s waterproof. If not, use a damp cloth.
- Mouse Pads: Shake off dust. If it’s cloth, hand wash with mild soap and water. Dry completely.
- Keyboard Trays: Slide out trays and dust off. Wipe with a damp cloth and dry.
Remember to clean these accessories each time you clean your keyboard. This improves hygiene and extends their life.
Tips for Disinfecting and Sanitizing Keyboards
In the era of high-touch surfaces, disinfecting your keyboard is just as crucial as cleaning it. Here are some simple tips to help you sanitize your keyboard effectively:
- Select the Right Disinfectant: Opt for an isopropyl alcohol solution that is at least 70% for maximum effectiveness against germs.
- Power Off: Always turn off your keyboard or disconnect it before disinfecting to avoid any electrical issues.
- Apply Disinfectant Properly: Lightly dampen a microfiber cloth with the alcohol solution; never pour or spray directly onto the keyboard.
- Gently Wipe: Swipe the cloth over each key and surface. Ensure no liquid pools between keys.
- Wait and Dry: After wiping, let the keyboard sit for a few minutes. This allows the disinfectant time to work. Ensure it’s completely dry before turning it back on.
- Regular Routine: Make disinfecting part of your regular cleaning schedule, especially if the keyboard is used by multiple people.
- Be Cautious: Avoid bleach or other harsh chemicals that can damage the keyboard’s materials.
By following these tips on how to clean a keyboard, you’ll help reduce the spread of germs while keeping your keyboard in good condition.
Maintaining Your Keyboard After Cleaning
Keeping a keyboard clean after the initial cleanup is crucial for lasting performance. Here are some maintenance tips:
- Regular Dusting: Use compressed air to blow away dust every week. This prevents buildup.
- Soft Cleaning: Gently pass a dry microfiber cloth over the keys periodically. This keeps away daily grime.
- Avoid Spills: Keep drinks and food away from your keyboard area. Accidents lead to sticky keys and more.
- Hand Hygiene: Wash your hands before using the keyboard. This reduces oil and dirt transfer.
- Protective Covers: Consider a keyboard cover if you’re in a dusty environment. Remove and clean it often.
- Routine Checks: Do a quick check for sticky keys or odd noises. Address issues early to avoid bigger problems.
- Deep Cleaning Schedule: Set a reminder for a thorough cleaning every few months. Keep tools and supplies ready.
Follow these steps on how to clean a keyboard and maintain it. Your keyboard will work well and look great for a long time.
Troubleshooting Common Keyboard Cleaning Issues
While following the guide on how to clean a keyboard, you might encounter some issues. Here’s how to tackle them efficiently:
- Sticky Keys: If keys stick after cleaning, remove them again. Check for leftover residue. Clean with isopropyl alcohol and dry fully.
- Non-Responsive Keys: Test keys after reassembling. If they don’t work, ensure they’re correctly placed and the contacts are clean.
- Water Damage: If liquid spills during cleaning, turn off the keyboard immediately. Wipe it dry. Let it air dry upside down for at least 24 hours.
- Discolored Keycaps: Clean gently with a soft cloth. Avoid harsh chemicals that could cause further damage to the cap’s surface.
- Dust Build-Up: Use compressed air more often. Keep the workspace clean to minimize dust around the keyboard.
- Residue Inside Switches: For mechanical keyboards, use isopropyl alcohol on a cotton swab to clean switches. Be careful not to leave cotton fibers behind.
- Odors: Wipe the keyboard with a cloth dampened with a diluted solution of water and mild dish soap. Air dry completely.
Encountering issues when you clean a keyboard is common. With these tips, you can solve problems without causing harm to your keyboard. Always remember to consult the user manual for specific advice related to your keyboard model.